Skip to content
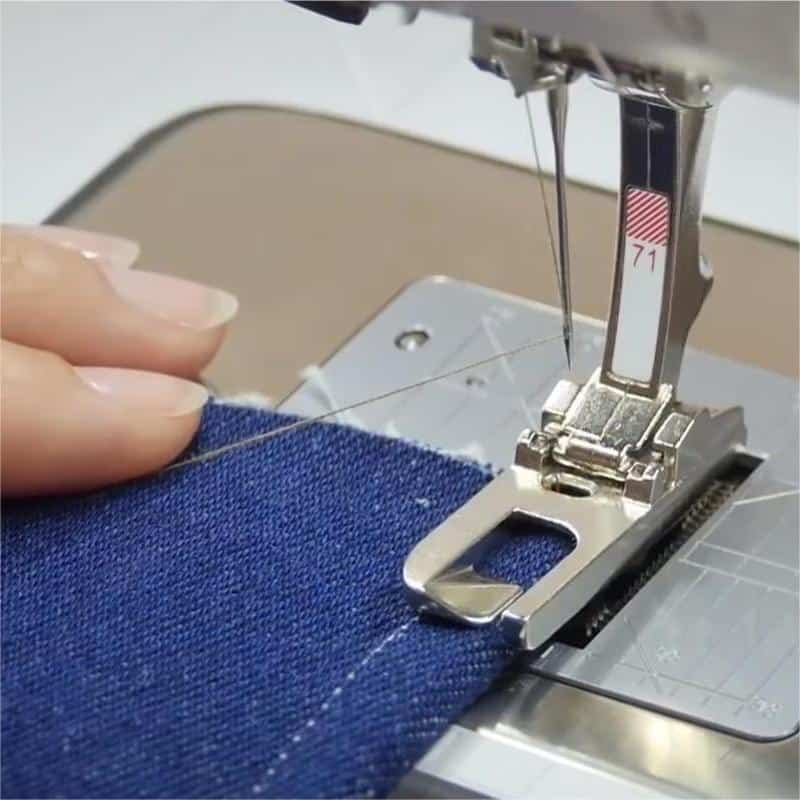
In general, a seam is a line where two pieces of material are joined together. The term is most commonly used in relation to sewing, where a seam is created by sewing together two pieces of fabric. Seams are used in a variety of applications, including clothing, upholstery, and other textiles. In some cases, the seam may be visible, while in others it may be hidden. Seams can be straight or curved, and can be sewn using a variety of techniques, including hand sewing or machine sewing.
7 Different Type Of Seams

Plain seam
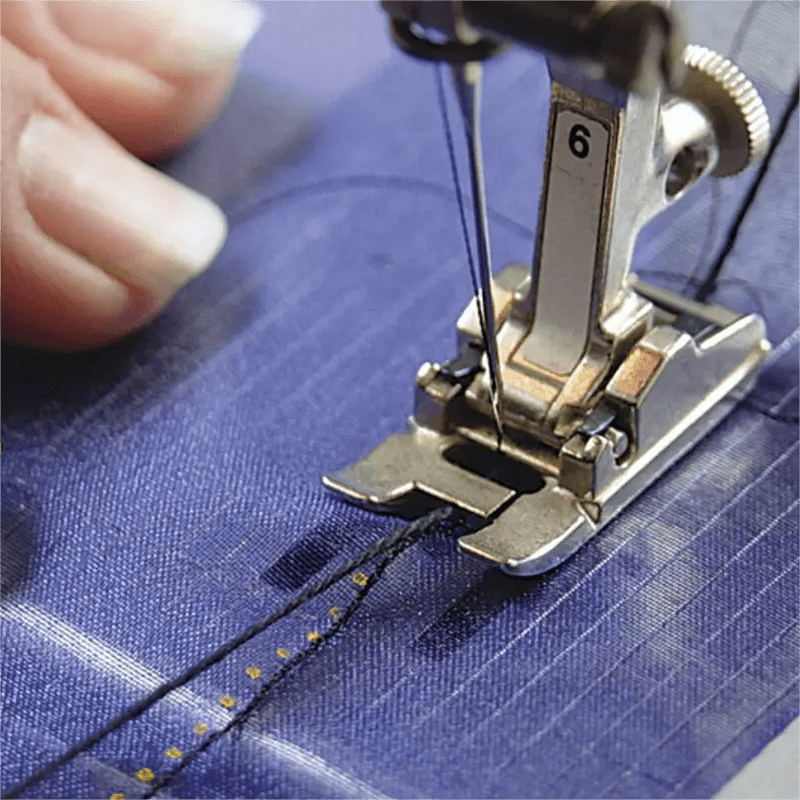
A plain seam is the most basic type of seam and is often used for sewing simple garments. It involves sewing two pieces of fabric together with the right sides facing each other, then pressing the seam open or to one side.
To create a plain seam, you will need a sewing machine and thread in a color that matches your fabric. Begin by aligning the two pieces of fabric with the right sides facing each other and pinning them in place. Next, set your sewing machine to a straight stitch and sew along the edge of the fabric, removing the pins as you go.
After sewing the seam, you can either press the seam open or to one side. To press the seam open, lay the seam flat and use an iron to press it open, starting at the center and working your way outwards. To press the seam to one side, fold the seam allowance towards one side of the fabric and press it in place.
Plain seams are often used for simple garments, such as t-shirts or pants, where a neat and tidy finish is desired. They are relatively easy to create and do not require any special equipment or techniques.
However, plain seams can be prone to fraying, especially on lightweight or sheer fabrics. In these cases, you may want to consider using a different seam finishing technique, such as overlocking or zigzag stitching, to prevent the edges from unraveling.
Overall, plain seams are a staple of garment construction and are an essential skill for any beginner sewist to master. With a little practice and patience, you will be able to create professional-looking seams in no time.
French seam
A French seam is a neat and durable seam that encloses the raw edges of the fabric within the seam allowance. It is often used for sheer or lightweight fabrics to prevent fraying.
To create a French seam, you will need a sewing machine and thread in a color that matches your fabric. Begin by aligning the two pieces of fabric with the wrong sides facing each other and pinning them in place. Next, set your sewing machine to a straight stitch and sew a seam along the edge of the fabric, about 1/4 inch (6 mm) from the edge.
After sewing the first seam, turn the fabric right side out and press the seam flat. Then, fold the fabric so that the right sides are facing each other and the seam is now on the inside. Pin the fabric in place and sew a second seam along the edge, about 1/4 inch (6 mm) from the edge.
When you are finished, the raw edges of the fabric will be completely enclosed within the seam allowance, creating a neat and professional-looking finish.
French seams are a great choice for sheer or lightweight fabrics, as they provide a strong and durable seam that will not fray or unravel. They are also a good choice for garments that will be worn close to the skin, as they have a smooth finish that is comfortable against the skin.
However, French seams can be a bit time-consuming to create, as they require two separate rows of stitching. They may also be more difficult to sew on thick or bulky fabrics, as the multiple layers of fabric can be difficult to maneuver through the sewing machine.
Overall, French seams are a classic and elegant choice for seam finishing, and are a great skill for any sewist to have in their toolkit.
Flat seam
A flat seam is a type of sewing technique that is used to join two pieces of fabric together in a way that creates a flat, smooth, and nearly invisible seam. The goal of this technique is to create a seam that is as inconspicuous as possible, allowing the finished garment or item to have a clean and professional appearance.
There are several steps involved in creating a flat seam. First, the two pieces of fabric to be sewn together are placed right sides together, with the edges aligned. The seam allowance, which is the excess fabric along the edges of the fabric that will be sewn together, is then pinned in place to hold everything in position.
Next, the fabric is sewn together using a straight stitch, with the seam allowance on top. The seam allowance is then trimmed down to reduce bulk, and the edges of the fabric are pressed open to lay flat.
After the fabric is pressed open, the seam allowance is folded in half along the seam line, with the raw edges tucked inside. The seam is then sewn down again, this time using a very small and even stitch, creating a second row of stitching that is almost invisible on the right side of the fabric.
There are a few benefits to using a flat seam in sewing. One advantage is that it creates a very strong and durable seam, as there are two rows of stitching. Additionally, a flat seam is much less bulky than other types of seams, which can make the finished garment or item more comfortable to wear. Finally, the smooth and nearly invisible appearance of a flat seam makes it ideal for use in garments and other items that require a clean and professional look.
Welted seam
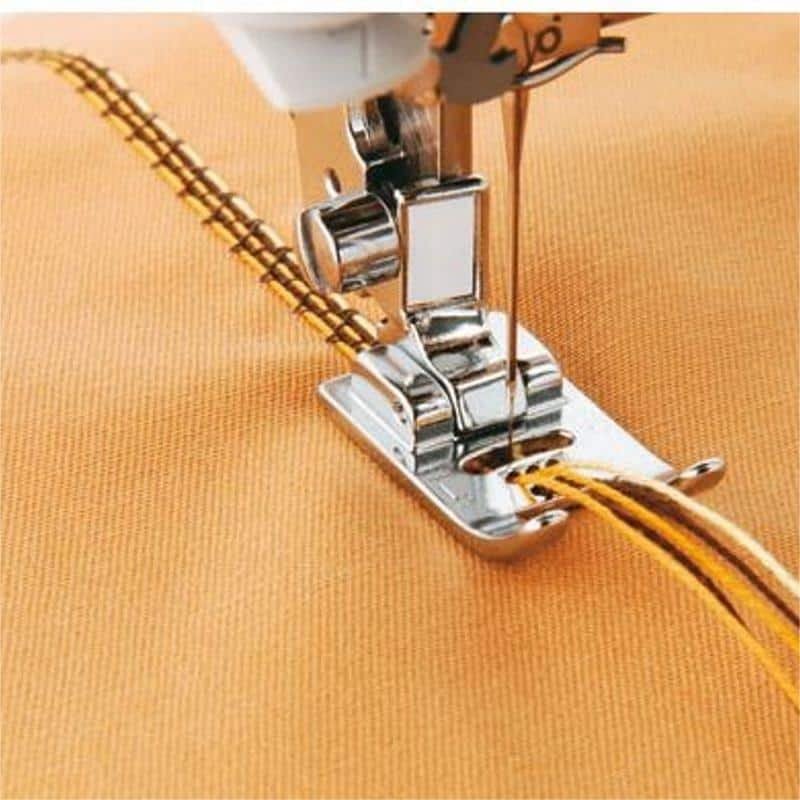
A welted seam is a type of seam that is used in sewing to join two pieces of fabric together in a way that is both strong and decorative. This type of seam is often used in tailoring and upholstery, as it is able to withstand a lot of wear and tear.
The process of creating a welted seam involves sewing a strip of fabric, known as a welt, over the seam line between two pieces of fabric. This welt acts as an additional layer of reinforcement, helping to strengthen the seam and make it more durable.
There are several steps involved in creating a welted seam. First, the two pieces of fabric to be sewn together are placed right sides together, with the edges aligned. The seam allowance, which is the excess fabric along the edges of the fabric that will be sewn together, is then pinned in place to hold everything in position.
Next, a strip of fabric is cut and prepared to be used as the welt. This strip should be slightly wider than the seam allowance and long enough to cover the entire length of the seam. The welt is then placed over the seam allowance, with one edge aligned with the raw edge of the fabric.
The welt is then sewn in place using a straight stitch, catching both the seam allowance and the welt in the seam. The seam is then pressed open, with the welt on top, and the raw edges of the fabric are trimmed.
Finally, the seam is sewn down again, this time using a decorative stitch such as a zigzag or a herringbone pattern. This second row of stitching helps to secure the welt in place and gives the finished seam a decorative touch.
Overall, the use of a welted seam adds strength and durability to a seam, as well as a decorative touch. It is often used in garments and other items that require a strong and attractive seam, such as outerwear, bags, and upholstery.

Lapped seam
A lapped seam is a type of seam that is used in sewing to join two pieces of fabric together in a way that is strong and relatively inconspicuous. This type of seam is often used in situations where the seam will be subjected to a lot of wear and tear, as it is able to withstand a lot of stress.
The process of creating a lapped seam involves overlapping one piece of fabric over the other and sewing them together along the overlap. This overlap creates an additional layer of fabric, which helps to strengthen the seam and make it more durable.
There are several steps involved in creating a lapped seam. First, the two pieces of fabric to be sewn together are placed right sides together, with one edge overlapping the other. The seam allowance, which is the excess fabric along the edges of the fabric that will be sewn together, is then pinned in place to hold everything in position.
Next, the overlap is sewn in place using a straight stitch, catching both layers of fabric in the seam. The seam is then pressed open, with the overlapped fabric on top, and the raw edges of the fabric are trimmed.
Finally, the seam is sewn down again, this time using a decorative stitch such as a zigzag or a herringbone pattern. This second row of stitching helps to secure the overlapped fabric in place and gives the finished seam a decorative touch.
Overall, the use of a lapped seam adds strength and durability to a seam, as well as a decorative touch. It is often used in garments and other items that require a strong and relatively inconspicuous seam, such as outerwear, bags, and upholstery.
Bound seam
A bound seam is a type of seam finish in sewing where the raw edges of two pieces of fabric are encased in a separate strip of fabric or tape. This creates a clean, finished look and can also provide additional strength to the seam. There are several different methods for creating a bound seam, including using a bias tape binding or a strip of fabric cut on the straight grain.
To create a bound seam using bias tape, start by pressing the tape in half lengthwise with the wrong sides together. Next, place the tape along the raw edge of one of the fabric pieces, aligning the pressed edge of the tape with the raw edge of the fabric. Sew the tape to the fabric using a straight stitch, being sure to catch the other side of the tape on the underside. Then, fold the tape over to the other side of the fabric and press it in place. Finally, topstitch the tape in place, being sure to catch the underside of the tape as well.
To create a bound seam using a straight grain strip of fabric, first press the strip in half lengthwise with the wrong sides together. Then, place the strip along the raw edge of one of the fabric pieces, aligning the pressed edge of the strip with the raw edge of the fabric. Sew the strip to the fabric using a straight stitch, being sure to catch the other side of the strip on the underside. Finally, fold the strip over to the other side of the fabric and press it in place.
Bound seams are often used in garment construction, particularly on hemlines and necklines, as they provide a professional, finished look. They can also be used on home decor projects, such as throw pillows or curtains, to encase the raw edges and add a touch of sophistication.
Hong Kong seam
A Hong Kong seam, also known as a Hong Kong finish or a bound seam finish, is a method of enclosing the raw edges of a seam allowance within a strip of bias tape or fabric. This creates a clean, finished look and can also provide additional strength to the seam. The Hong Kong seam is named after the traditional tailoring techniques used in Hong Kong, where it is a popular method for finishing seams in high-end clothing.
To create a Hong Kong seam, start by pressing a strip of bias tape or fabric in half lengthwise with the wrong sides together. Place the tape or fabric along the raw edge of the seam allowance, aligning the pressed edge with the raw edge of the fabric. Sew the tape or fabric to the fabric using a straight stitch, being sure to catch the other side of the tape or fabric on the underside. Then, fold the tape or fabric over to the other side of the fabric and press it in place. Finally, topstitch the tape or fabric in place, being sure to catch the underside of the tape or fabric as well.
The Hong Kong seam is a more time-consuming method than some other types of seam finishes, but it is considered a high-quality, professional finish. It is often used in the construction of high-end clothing and other garments, such as dresses, skirts, and blouses, as well as in home decor projects like throw pillows and curtains. It is also a good choice for items that will be subjected to a lot of wear and tear, as the additional layer of fabric or tape helps to reinforce the seam and increase its durability.
I hope this helps! Let me know if you have any questions or need further clarification on any of these types of seams.